How to Set Up ADB Wi-Fi 2.0 on Android 17
Learn how to set up ADB Wi-Fi 2.0 on Android 17, pair it with Android Studio, verify the connection, enable automatic reconnection, and fix common wireless debugging problems.
On this page
If your Android phone keeps disappearing from Android Studio whenever Wi-Fi changes, Android 17 has a new fix worth using. ADB Wi-Fi 2.0 rebuilds the wireless Android Debug Bridge connection system and adds automatic reconnection on trusted networks. This tutorial shows how to pair an Android 17 device, verify ADB Wi-Fi 2.0, connect it to Android Studio, and troubleshoot the common points where wireless debugging can still fail.
What ADB Wi-Fi 2.0 changes for Android developers
Android Debug Bridge, usually called ADB, is the command-line connection that lets your computer install, debug, inspect, and control a development Android device. Wireless debugging has supported this workflow since Android 11, but the older connection path could become unreliable when networks changed or the device temporarily disappeared. ADB Wi-Fi 2.0 addresses that problem by changing the ADB server, the adbd service running on the device, and Android Studio's device discovery.
Google says the redesigned system improves automatic connection success by 32% and increases connection speed by 66% for 90% of measured connections. Those are Google's measurements rather than an independent benchmark, so they should be treated as vendor-reported results rather than a guarantee for every Wi-Fi network. The practical improvement is simpler: once a computer and phone are paired, Android can automatically reconnect when both return to a trusted wireless network.
Check the versions before you pair
ADB Wi-Fi 2.0 specifically requires Android 17 or newer on the Android device. You also need a recent Android SDK Platform-Tools package because that package contains the adb command used by the computer. Google's current documentation recommends using the latest Platform-Tools release, while the ADB Wi-Fi 2.0 announcement identifies Platform-Tools 37.0.0 as the required baseline.
Android Studio is also part of the improved workflow. Google introduced the easier pairing interface in Android Studio Quail 3, and the current stable Android Studio release is newer than that baseline. If you already use Android Studio, update it and let its SDK Manager update Platform-Tools rather than keeping an old standalone copy of adb somewhere else on your computer.
Enable Developer Options and Wireless debugging
Start on the Android 17 device you want to use for development. Open Settings, find the device's software information area, and enable Developer Options if they are not already visible. The exact location of Developer Options varies between manufacturers, but once enabled, open Developer Options and find Wireless debugging.
Turn Wireless debugging on. Android will ask whether wireless debugging should be allowed on the current network. If you choose the option that always allows debugging on that network, Android treats it as a trusted wireless debugging network. That setting is particularly useful with ADB Wi-Fi 2.0 because the device can automatically reconnect when it returns to a network you have approved.
Put the phone and computer on the same Wi-Fi network
Connect both devices to the same wireless network before pairing. This sounds obvious, but it is one of the easiest requirements to miss when a development computer has several network interfaces. A phone connected to a guest Wi-Fi network may not be able to discover a computer on the main network even when both devices appear to have internet access.
For the first setup, keep the phone awake and leave Wireless debugging enabled. If your network uses client isolation, which prevents devices on the same Wi-Fi network from communicating directly, wireless ADB discovery may fail even though ordinary internet access works. In that situation, changing networks is usually more useful than repeatedly restarting ADB.
Pair the Android 17 device from Android Studio
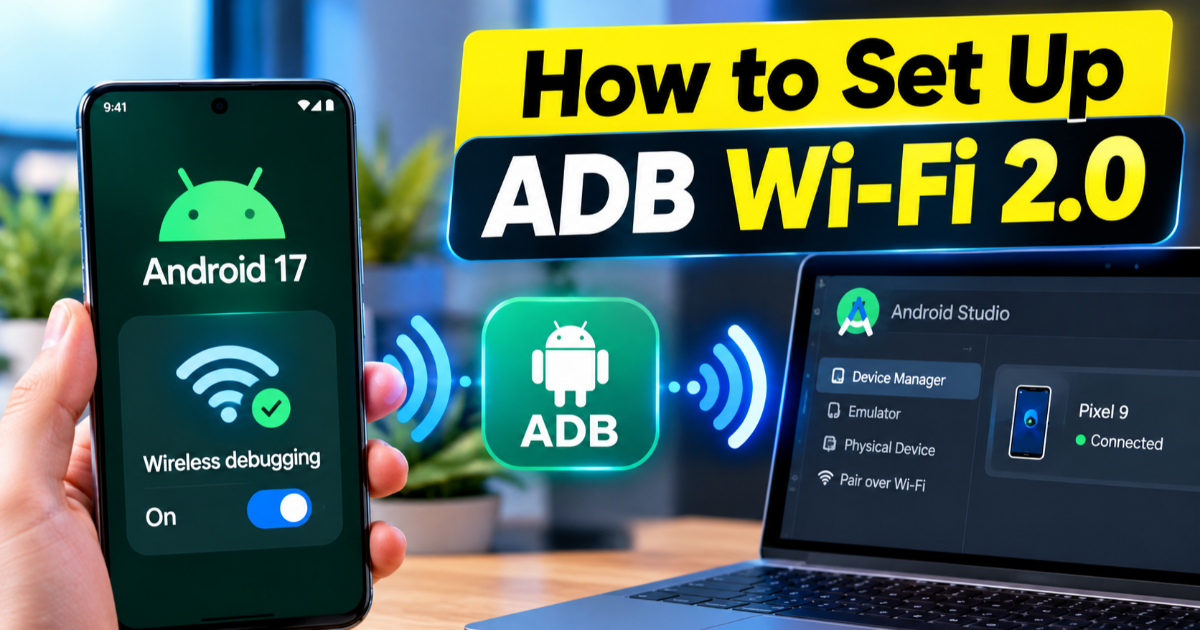
Open Android Studio and launch the Device Manager. In the device connection controls, choose the option for pairing a device over Wi-Fi. With Wireless debugging already enabled on the phone, the new ADB Wi-Fi workflow is designed to make the device easier to discover from this screen.
Android Studio can use a QR code or a pairing code. The QR method is usually the quickest: display the pairing QR code from Android Studio, choose the QR pairing option on the phone, and scan it. If QR pairing is inconvenient, select the pairing-code method instead and enter the code Android displays.
After pairing succeeds, the device should appear as an available Android device in Android Studio. Pairing and connecting are related but separate operations: pairing establishes authorization between the computer and phone, while the ADB connection is the active development connection. With ADB Wi-Fi 2.0, the device can automatically reconnect when it returns to a trusted network.
Verify the connection from the terminal
You can check the connection independently of Android Studio with the adb devices command. Open a terminal in the Platform-Tools directory or make sure that directory is available in your system's PATH.
adb devicesA successful connection should list your Android device rather than showing an empty device list. If more than one device is connected, the output will contain multiple entries, so Android Studio and command-line tools may require you to select the intended device when running an application or debugging command.
You can also check whether the connected device is actually exposing the new ADB Wi-Fi service. Run:
adb mdns track-services --proto-textLook through the output for mdns_service_version: "2.0" or a higher version. If the reported service version is lower, the device is not using ADB Wi-Fi 2.0. Google's documentation identifies Android 17 and later as the supported platform for the 2.0 service.
Use the wireless device like a USB-connected phone
Once the device is connected, the normal development workflow does not fundamentally change. You can run an application from Android Studio, attach the debugger, inspect logs with adb logcat, install a debug build, and use other ADB commands without keeping a USB cable attached.
For example, to check the Android device from the command line, run:
adb shell getprop ro.build.version.releaseThe command asks the device for its Android release version through the existing ADB connection. You can use the same connection for other development tasks, which is where wireless debugging becomes more useful than simply being a convenient alternative to a cable.
Make a Wi-Fi network trusted for automatic reconnection
The useful part of ADB Wi-Fi 2.0 is what happens after the first successful pairing. Android can remember a wireless network as trusted for wireless debugging, allowing the device to reconnect to the workstation when both are back on that network. You do not need to repeat the entire pairing process every time you leave your desk and return.
That behavior also addresses a security problem with leaving wireless debugging broadly available. Google says the device can automatically disable ADB Wi-Fi when it detects an untrusted network and re-enable it after returning to a user-allowed network. In practice, this means your development phone does not have to keep advertising a debugging connection everywhere it goes.
Fix the connection when Android Studio cannot find the phone
Start with the simplest checks. Confirm that both devices are connected to the same Wi-Fi network, Wireless debugging is still enabled, and the phone has not switched to a different access point or guest network. Then restart the Device Manager discovery process before deleting the existing pairing.
If the command line also cannot see the device, check that your computer is using the expected Platform-Tools installation. Running adb version can reveal which ADB binary is being executed. Multiple Android SDK installations can leave an older ADB earlier in the system PATH, which makes an otherwise correct Android Studio setup confusing.
If pairing has become stale, open Wireless debugging on the phone and remove the workstation from the paired-device list. Pair it again using Android Studio. This is preferable to repeatedly running random ADB commands because it resets the authorization relationship rather than only restarting the local ADB server.
Know when wireless debugging is the wrong choice
ADB Wi-Fi 2.0 makes wireless development more dependable, but it does not make every network suitable for debugging. Corporate networks, public hotspots, guest networks, and networks with device isolation can block the discovery or direct communication that wireless ADB needs. A USB connection remains the sensible fallback when you need predictable connectivity or are working on a network you do not control.
There is also no reason to force wireless debugging onto every development task. If you are testing an application where connection stability is critical, keeping a USB connection available can save time. Wireless ADB is most useful when repeatedly plugging and unplugging a phone has become the slower part of the development workflow.
What to test after ADB Wi-Fi 2.0 is working
Do not stop after Android Studio shows a green connection. Disconnect the phone from Wi-Fi, reconnect it to the trusted network, and watch whether the workstation finds it again without another pairing operation. Then move between normal development tasks such as running an app, reading logs, and attaching the debugger. Those tests tell you much more about the usefulness of ADB Wi-Fi 2.0 than the initial pairing screen does.
If the connection survives those everyday interruptions, you can leave the USB cable on the desk and use the same ADB workflow wirelessly. The biggest change is not a new command to memorize; it is that Android 17 and the newer ADB stack can finally make wireless debugging behave more like a persistent development connection instead of a setup you have to repair whenever the network changes.

Written by