How to Edit Videos in Adobe Premiere on Android
Adobe Premiere is now available on Android. Learn how to import clips, edit a multi-track timeline, improve audio, add effects, use AI tools, and export videos up to 4K.
On this page
Adobe Premiere is now available on Android, giving users a new way to make multi-track video edits directly on a phone. The app is free to use, supports Android 13 or later with at least 5GB of RAM, and can export finished videos at up to 4K. Here is how to go from your camera clips to a finished edit without needing a desktop editor.
Check your Android phone before installing Premiere
Before starting, make sure your phone meets Adobe's requirements. Premiere on Android requires Android 13 or newer and at least 5GB of RAM. That rules out some older and lower-memory phones, so checking the Android version and available memory first can save you from installing an app that your device cannot run.
Premiere is available through Google Play and its core editing tools do not require a Creative Cloud subscription or a forced login. Adobe also says the Android version is designed for different device types, including foldable phones, rather than simply reproducing the iPhone interface on a smaller screen.
Start a new video project in Adobe Premiere
Open Premiere and start a new project from the media shown on your phone. You can choose the footage you want to edit and arrange it into your project. Premiere is designed around a timeline, which means your clips become a sequence that you can shorten, rearrange, layer with other media, and refine before exporting.
For a first project, keep the edit simple. Select the clips that tell the story you want to make, rather than importing every video in your camera roll. A shorter selection makes the timeline easier to manage and lets you concentrate on the parts of the footage that actually belong in the finished video.
Trim and split clips before adding effects
Start the actual edit by removing unwanted sections from your clips. Trimming changes where a clip starts or ends, while splitting divides one clip into separate pieces so you can remove or rearrange a specific section. These two operations are the foundation of most phone video edits, and they should usually happen before you spend time on effects or transitions.
Use the timeline to find the moment where an unwanted section begins, split the footage there, and remove the part you do not need. Then repeat the process for the end of the unwanted section. This leaves the useful footage together without requiring you to modify the original recording stored on your phone.
Build the edit with Premiere's multi-track timeline
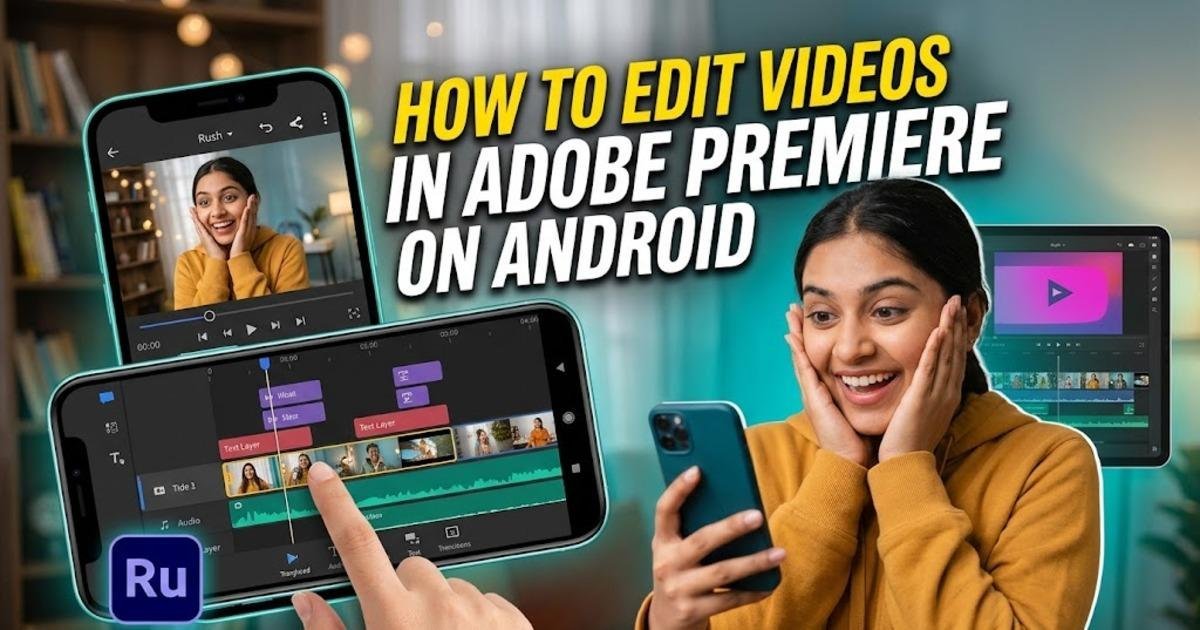
Once the basic cuts are in place, use Premiere's multi-track timeline to layer different types of media. You can place additional video, music, voiceovers, text, and effects into the project instead of treating the video as a single continuous track. This is useful when you want a talking-head clip with background music, an overlay, or text appearing at a specific point.
The important distinction is that each layer can be edited independently. If background music is too loud, for example, you can adjust the audio without cutting the video underneath it. If a title needs to remain on screen longer, you can change its position and duration without rebuilding the entire edit.
Add text, music, transitions, and effects after the cuts
With the timing established, add the elements that give the video its finished shape. Premiere includes titles, transitions, effects, music, creative assets, and access to Adobe Stock content. You can also use your own audio and extracted audio where appropriate.
Keep these additions tied to a specific purpose. A transition can make a change between two clips feel deliberate, while text can identify a person, explain something on screen, or provide context that the footage does not communicate by itself. Adding effects simply because they are available can make a short mobile video harder to follow.
Clean up voice recordings with Enhance Audio
If your video contains speech recorded in a noisy environment, try Premiere's Enhance Audio feature. Adobe describes it as a tool for reducing distracting background noise and improving the clarity of interviews, voiceovers, and other recordings.
This is especially useful for phone footage because the microphone may capture traffic, fans, conversations, or other sounds along with the speaker. Listen to the processed result rather than assuming stronger processing is automatically better. The goal is clearer speech that still sounds natural.
Use templates when you want a faster edit
If you do not want to build the timeline from scratch, Premiere includes creator-made templates. These provide a starting structure that you can customize with your own footage. Templates can be useful for recurring social videos where the basic format stays the same but the clips and text change.
For a completely custom project, start without a template and build the timeline yourself. That gives you more direct control over the timing and arrangement of each clip and avoids having to remove template elements that do not fit your footage.
Try Premiere's AI tools only when they solve a real editing problem
The Android app also includes Firefly-powered generative features such as Generative Fill, Image-to-Video, and Generate Sound Effects. These are separate from the basic editing workflow and can use generative credits, with additional credits and storage available through upgrades.
For a first project, you do not need these tools. Finish the cuts, audio, text, and transitions first. Generative features become more useful when you have a specific missing element to solve, such as creating a sound effect or extending what you can produce from existing media.
Export the finished video at up to 4K
When the timeline is finished, review the entire video once before exporting. Check the beginning and ending of every clip, listen for sudden volume changes, and make sure titles do not cover important parts of the footage. A final review is easier and faster than discovering a mistake after rendering.
Premiere on Android supports video editing and export up to 4K. Choose the output quality that matches the footage and where you plan to publish it. A higher resolution does not automatically make a low-resolution source look better, and a smaller export can be more practical when the finished video is intended for quick sharing.
What Android Premiere can do now—and what is still missing
The Android release already covers the main mobile editing workflow: importing footage, making precise cuts, layering video and audio, adding text and effects, improving speech, using templates, and exporting up to 4K. Adobe says the app is also free of forced login prompts, advertisements, and watermarks during normal editing.
There are still features Adobe has announced for future updates, including Adobe Fonts, enhanced captions, keyframes, cropping, beat detection, and continued editing between mobile Premiere and the desktop application. That means the current Android release is useful as a standalone editor, but Adobe is still expanding the connection between its mobile and desktop workflows.
What to do if you are replacing Premiere Rush
If Premiere Rush is still part of your Android editing workflow, the timing of this release matters. Adobe is transitioning away from Rush as it moves users toward its newer Premiere mobile applications, and technical support for Premiere Rush is scheduled to end on September 30, 2026.
For a new Android project, Premiere is therefore the newer mobile editing path to learn. Existing Rush projects should be handled carefully rather than deleted immediately, especially if they contain work that you may need later. The new Premiere app and the older Rush workflow are not interchangeable simply because they carry the same Premiere name.
The simplest Android Premiere workflow
For most first projects, the cleanest sequence is straightforward: import the footage, trim and split the clips, arrange the story on the timeline, add music or voiceover, insert only the text and effects you need, improve speech if necessary, review the complete edit, and export it. Starting with the story rather than the effects keeps the timeline manageable and makes it easier to see which tools actually improve the finished video.
Adobe Premiere's arrival on Android also gives creators who previously relied on other mobile editors another option without requiring a Creative Cloud subscription for basic editing. As Adobe adds the promised desktop handoff, keyframes, beat detection, and other features, the most useful question will be how much of a phone-based editing workflow can eventually stay inside Premiere from the first cut to the final export.

Written by